Microsoft is working really hard to improve the Windows 10 experience and of course, Windows 10 now runs smoother than ever thanks to those regular updates but all of this comes at a price. To ensure that your system is running smoothly, you have to regularly download the cumulative updates rolled out by Microsoft. And while these updates are meant to get your system running efficiently, they can cause your system to run into unexpected errors and that’s the last thing you want if you are like me and always running on the edges of deadlines.

You can pause the system updates if you don’t want to be bothered by that ‘Applying Windows Update’ blue screen every week while being afraid to run into a major breakdown following the update. And with Microsoft issuing update alerts with every update these days, it’s always wise to wait a few weeks or even months for the developers to tie up loose ends in the release. It doesn’t matter if you are the last one to get that update installed on your system (noone’s running some who-will-be-the-first-one-to-update race here).
Did you know? You could ‘Reset Windows 10 Without Losing Your Apps‘!
Follow these steps to pause the updates for Windows 10 (valid for every edition of Windows unless your organization is handing the update delivery).

- Head to the ‘Settings’ from the start menu.
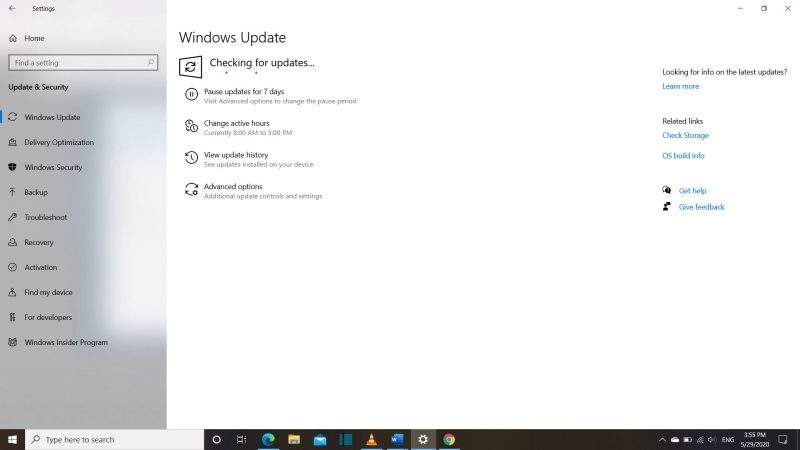
- Click on ‘Update and Security’ and select the ‘Windows Update’ heading (one with that recycle icon), where you will see selections to change active hours, pause updates and view update history.
If your PC has become sluggish after a recent update, you can uninstall the most recent update by navigating within the ‘View Update History’ option.
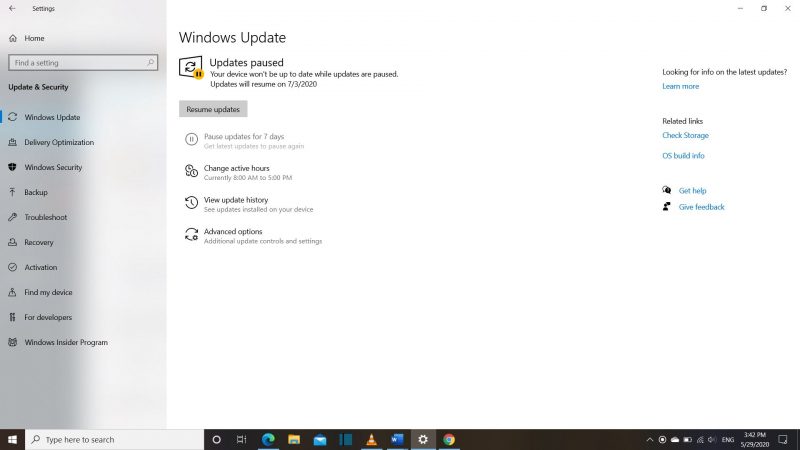
- Clicking on the pause option will bar your system from updating for a week. You can click on the option 4 more times and all of that sums to 35 days of no update.
Now get back to work and rest assured that your Windows 10 won’t download any updates and end up running into any major issues for the upcoming 35 days.


